Introduction
If you want to upgrade your outdoor living space with shade, style, and structure, installing a pergola is a fantastic choice. Learning how to add a pergola to a patio or deck creates an inviting focal point while providing functional benefits like UV protection and support for climbing plants. Whether you’re building over a ground-level patio or a raised deck, this project can be tackled with the right planning, tools, and techniques.
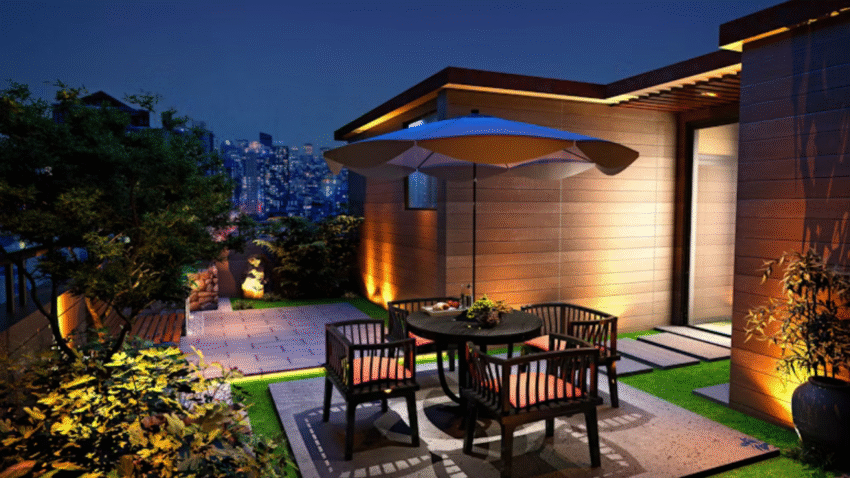
Why Add a Pergola to Your Patio or Deck?
A pergola isn’t just decorative—it adds value and versatility:
- Shade & Comfort: Filters sunlight for cooler afternoons.
- Aesthetic Appeal: Adds architectural interest and frames outdoor furniture.
- Entertainment Space: Defines areas for dining or lounging.
- Plant Support: Ideal for vines, hanging baskets, or string lights.
- Increased Value: Boosts curb appeal and makes outdoor spaces more usable.
Patio or deck, the installation process is similar—though anchoring methods differ.
Step-by-Step Guide to Adding a Pergola
1. Plan Your Pergola Design
- Size: Match the scale to your patio or deck; common sizes range from 10×10 to 12×16 feet.
- Material: Choose pressure-treated lumber, cedar, or metal for durability.
- Style: Open-top, slatted, or with retractable canopies depending on how much shade you want.
- Placement: Center it over dining sets, seating areas, or walkways.
Sketch your design or use pergola kits for a ready-to-assemble option.
2. Gather Tools and Materials
You’ll need:
- 4×4 or 6×6 posts (treated or cedar)
- Beams, rafters, and cross-lattice boards
- Metal post anchors (for patios) or deck-mount brackets (for decks)
- Concrete mix (if anchoring in the ground)
- Carriage bolts, lag screws, and joist hangers
- Drill, saw, wrench, and level
- Ladder and safety gear
3. Mark Pergola Post Locations
- On a patio: Use chalk lines or tape to outline post positions.
- On a deck: Mark locations over joists for maximum structural support.
- Ensure posts are square and evenly spaced for symmetry.
4. Anchor the Posts
How you anchor depends on whether you’re building on a patio or deck:
For Patios (Concrete or Pavers):
- Use heavy-duty post anchors secured with expansion bolts into the slab.
- If pavers are loose, remove them, pour concrete footings beneath, and re-lay around the anchors.
For Decks:
- Use deck post brackets attached directly to joists or beams beneath the deck surface.
- Reinforce with blocking between joists to prevent wobble.
5. Install Vertical Posts
- Insert posts into anchors and plumb them with a level.
- Temporarily brace posts with scrap lumber to keep them upright.
- Secure with lag screws or bolts.
6. Attach Beams
- Run beams along the outside of posts on opposite sides.
- Secure with carriage bolts drilled through posts and beams.
- For a decorative touch, cut beam ends into shapes (like arches or angles).
7. Install Rafters
- Lay rafters perpendicular to beams, evenly spaced 12–24 inches apart.
- Secure with galvanized screws, joist hangers, or notches cut into beams for a traditional look.
- Stagger spacing for maximum shade if desired.
8. Add Cross-Lattice or Shade Elements
- Install smaller cross-pieces perpendicular to rafters for more shade.
- Optional: Add a retractable canopy, fabric shade, or polycarbonate panels for rain protection.
9. Finish and Secure
- Sand any rough edges.
- Apply a stain or exterior sealer to protect wood from weathering.
- For metal pergolas, apply rust-resistant paint or powder coating.
10. Decorate and Personalize
- Add string lights or lanterns for evening ambiance.
- Train climbing plants like wisteria or jasmine for a natural canopy.
- Hang curtains for privacy and style.
- Furnish with a dining set, lounge chairs, or a fire pit beneath.
Common Mistakes to Avoid
- Mistake: Not Anchoring Securely
Unstable posts cause wobble and safety issues.
Solution: Use proper anchors rated for decks or patios, and reinforce framing. - Mistake: Ignoring Deck Structure
Attaching to weak joists leads to failure.
Solution: Always secure to beams or reinforced joists. - Mistake: Poor Sizing
A pergola that’s too small or too large looks awkward.
Solution: Scale to your patio/deck dimensions. - Mistake: Skipping Weather Protection
Unfinished wood grays quickly and rots.
Solution: Seal or stain wood before exposure. - Mistake: Forgetting Permits
Outdoor structures may require permits.
Solution: Check local codes before building.
Extra Patio & Deck Tips & Hacks
- Use pre-fabricated pergola kits if you want easier installation.
- Install a ceiling fan or heater under larger pergolas for year-round comfort.
- Integrate planters at post bases to soften the structure with greenery.
- If your patio is exposed, angle rafters east–west to block more midday sun.
Want more upgrades? See our guide on how to add string lights to a patio for evening ambiance.
Conclusion
Learning how to add a pergola to a patio or deck transforms your outdoor space into a stylish, shaded, and functional retreat. With careful planning, solid anchoring, and a bit of creativity, you can build a pergola that enhances both the beauty and usability of your home.
Pro tip: Think long-term—choose durable materials and add features like lighting or fabric for a pergola that works year-round. Bookmark this guide to use when you’re ready to elevate your outdoor living space.